Screen Print Induction Workshop //
Today was an introduction into how to prepare my own images to be used in a screen print…
Specifications of document:
Page Size A4 (unless a larger screen is wanted)
NUmber of Inks: 2
Important: for this induction artwork should have no tonal variation
Context
A positive is a black and white laser print that is used to transfer an image onto the silk screen
Instructions
Prepare either Photoshop pr Illustrator artwork using two layers - each layer only containing 100% black - this will be used to print a positive that will apply one ink. Print using a Black and White Laser Printer.
(don't use a colour laser printer or an inkjet printer)
note: The following are possibilities and are intended as helpful tips, there are many other techniques that can be used.
Using Photoshop
Prepare each colour on its own layer

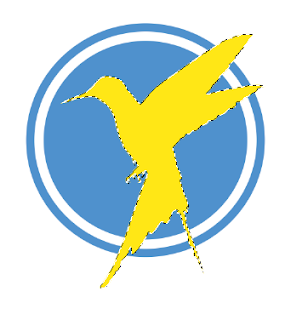
The yellow ink will print on top of the blue ink, the inks will mix on the paper making a third colour. If we do not want this to happen, we must remove (knock out) the blue from ‘underneath’ the yellow.
One way to do this is: Hold the Command key and click on the yellow layer in the layers palette.
This will select all pixels on the yellow layer.

Using Illustrator
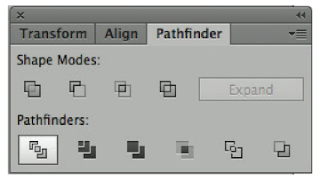
Prepare artwork with each colour on it’s own layer. Again, you may want to remove (knock out) one colour so that inks don’t mix during the printing process. Try the “Pathfinder” filters - Divide (results will vary according to your artwork.)

Then select all objects on each layer, fill with Black and Print each layer individually.


No comments:
Post a Comment